13.5 Updating the Website
Go to \\admin2\instres\reporting_website and open reporting_website.Rproj with R Studio.

Figure 13.12: Internal Website Rproj File
13.5.1 Update an Existing Page
Updating an existing webpage requires that you modify the R MArkdown document that generated this.
This is as simple as finding the associated Rmd document and making your updates and using the above mentioned makefile (See Section 13.4.8).
As an example, navigate to the .Rmd file that you wish to update (e.g. if you want to update the “studies” webpage go to the “studies.Rmd” document. Open this in R Studio.

Figure 13.13: Existing Internal Website Webpage Rmd
You will then see the following code in the viewing pane:

Figure 13.14: Current Internal Studies Webpage Code
If you then wanted to modify the existing link for the “College Scorecard Analysis of Student Debt” you could just change the associated web address. Recall that web addresses take the for of:
[Link Name](www.yourlinkhere.com)As a reminder, the above code will render to the webpage pictured in Figure 13.15.
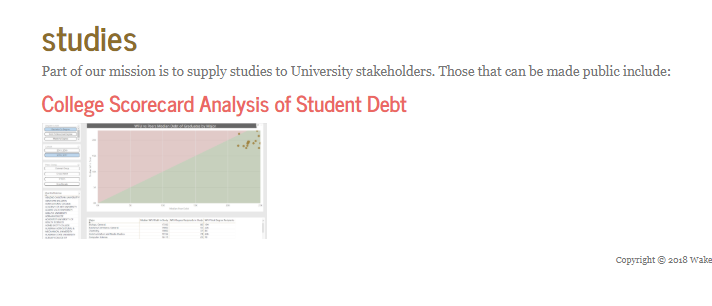
Figure 13.15: Current Internal Studies Webpage
If we wanted to add another webpage, we could do so by modifying the code:
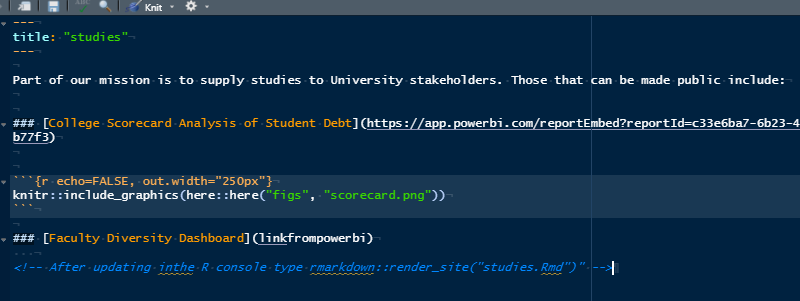
Figure 13.16: Modified Internal Studies Webpage Code
After we have made all of the necessary modifications, we would go to the terminal in R Studio and type make and press enter.
A window in the browser will open showing the entire internal website with the modifications that were made.
If you are happy with the modification, then close the browser and return to the terminal.
In the terminal type make update and the modifications will be pushed to the server.
13.5.2 Create a New Page
If you want to create a new webpage, you will need to again, need to open the .Rproj file in \\admin2\instres\reporting_website with R Studio as shown in Figure 13.12.
You will then need to create a R Markdown document in order to have the new page. A new R Markdown document can be created by selecting the new document command in R Studio as shown in Figure 13.17
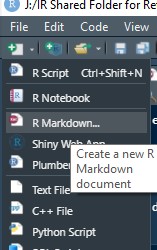
Figure 13.17: Select New R Markdown Document
You will then be prompted to select the R Markdown document type and enter some information. At this point just select OK (see Figure 13.18).
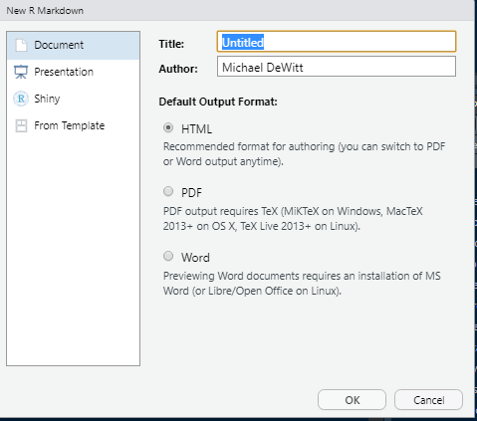
Figure 13.18: Select OK to Create New R Markdown Document
We will modify the R Markdown document directly. After selecting OK, a new document will appear in your window with some generic template information (See Figure 13.19).
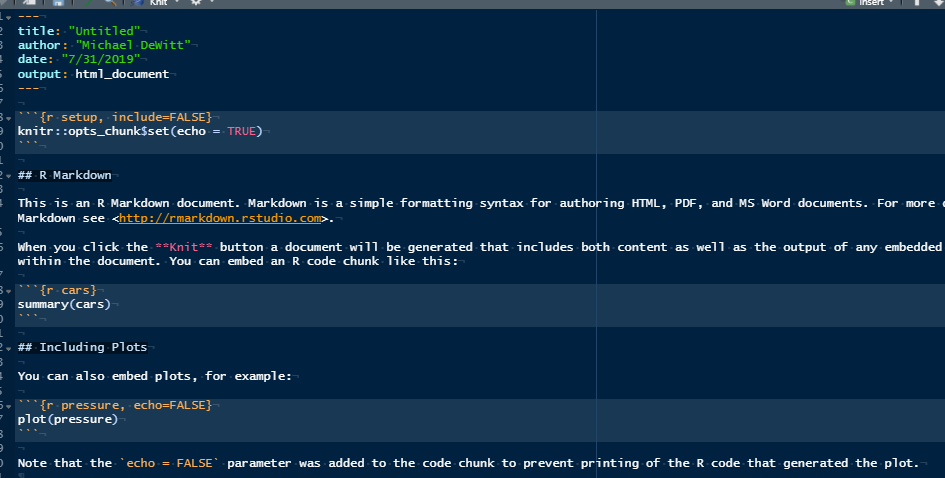
Figure 13.19: R Markdown Initial Template
Feel free to read this information.
My general practice is to delete all of the text, and remove the unnecessary components from the yaml heading as pictured in Figure 13.20.
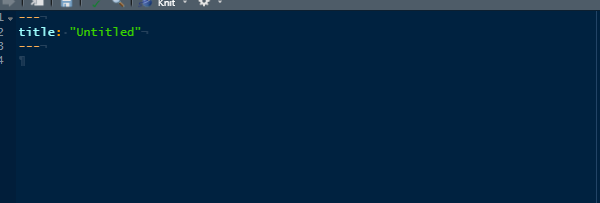
Figure 13.20: Example Starting New Webpage R Markdown Document
You can then begin generating content. Once finished, save the Rmd file with a name.
Remember whatever you name the R Markdown Document will be the name of the html file!
You can then use the make command in the terminal as described in Section 13.4.8 to make and the make update to push your new webpage to the server.
Right now, the file will exist as a valid webpage.
If you would like to include the new webpage on the navigation bar, you will need to update the _site.yml file.
The process for modifying this will be described in the next section.
13.5.4 Setting Security
It is important to use the .htaccess file in each directory in order to set permissions.
While the entire website will inherit whatever permissions are set in the root directory at a minimum, it is a good practice to put a copy of this file in each directory or sub-folder to ensure that should one become corrupted, another layer exists.
The details for creating the different .htaccess files have been described in 13.4.4.
If you create a new text file and name it .htaccess and modify the text mentioned, you can generate your own custom permissions based on your project need.